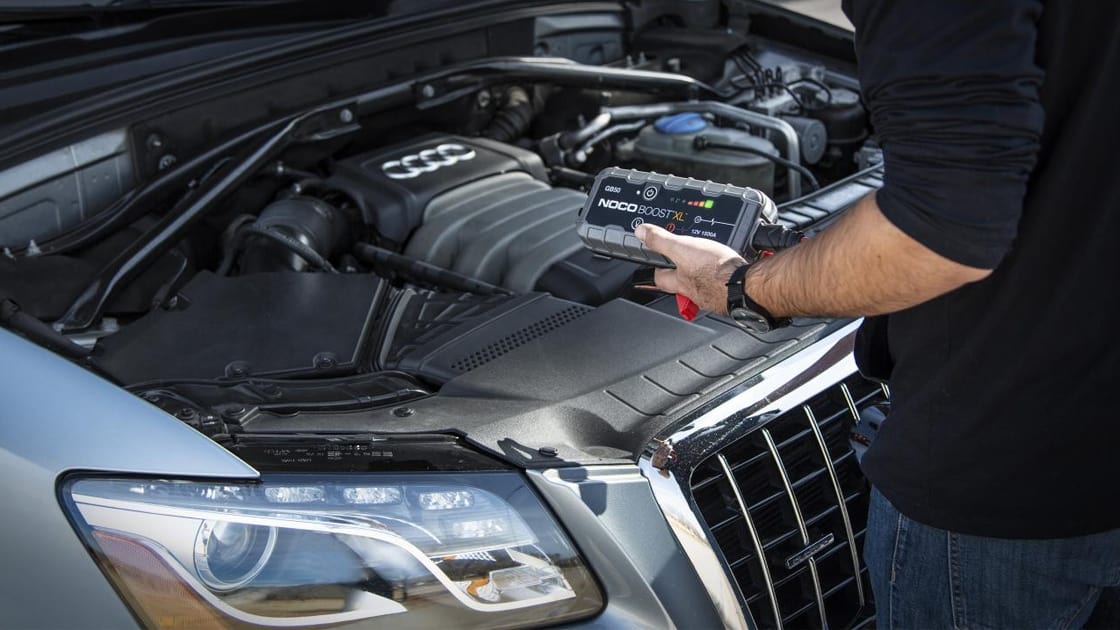
The importance of a portable jump starter is undeniable. One day, when your car battery surprisingly dies, all you need at that time will be a functional portable jump starter.
As vital as it seems, you’ll face trouble once this part doesn’t work anymore. Let’s fix it as soon as possible for safe and secure road trips. Jump right in for a comprehensive guide on how to fix a portable jump starter. Scroll down!
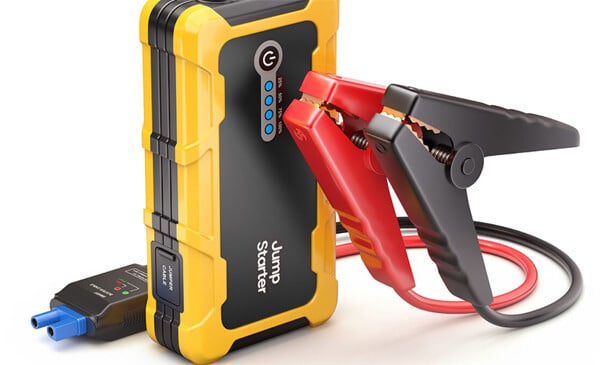
Which are the reasons causing the portable jump starter’s dead battery?
Why Is My Car Jump Starter Not Working?
A broken battery or damaged terminals are the most common reasons for battery jump starters not working.
But only by opening the jump starter can you determine whether or not this problem exists. Several obvious situations can also cause the portable jump starter to malfunction.
Furthermore, the plastic part covering your jump starter may melt when exposed to prolonged use, causing it to become useless.
Portable jump starter not charging: How to fix it? Let’s move on to other sections to seek the answer.
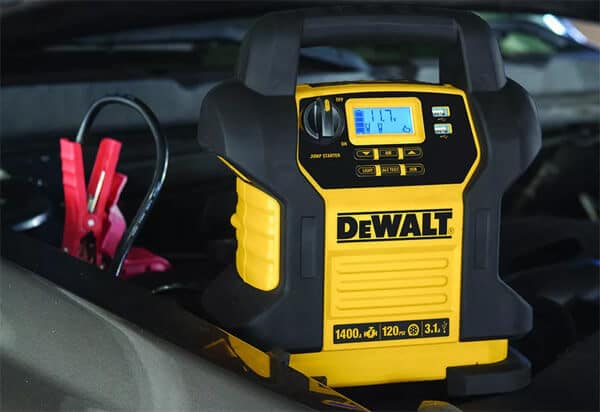
A portable jump starter won’t start the car
How To Fix A Portable Jump Starter?
If your portable jump starter won’t start the car, check out this comprehensive guide on how to repair a portable jump starter with just six steps:
Step 1. Open Up Your Portable Jump Starter
Because of its tiny size, many people find it hard to undertake careful surgery on their jump starter. You need to locate the screws and remove them. If you don’t see any screws, look for the openings that connect the various parts of your portable jump starter.
Make shallow cuts with a knife to open it. However, be gentle to avoid exposing the blade to your jack or circuit board. A little flat-blade screwdriver, on the other hand, will help pry out parts without causing damage.
Step 2. Analyze Each Internal Part
Any jump starter will most likely have many complicated internal parts. Commonly, battery cells, connectors, and the circuit board are must-haves in each jump starter.
You might look into any unusual elements like the number of plastic coverings on the terminals, circuit boards, or battery cells.
Then, look to see whether your batteries are over-drained. You can change these if necessary to make the jump starter perform better. Also, before closing up your setup, use a screwdriver or a knife to eliminate any residual plastic from your circuit board.
Take note that the wires often face loose or worn-out conditions. Hence, make sure they are still well-connected to the batteries, and circuit boards are of the utmost importance.
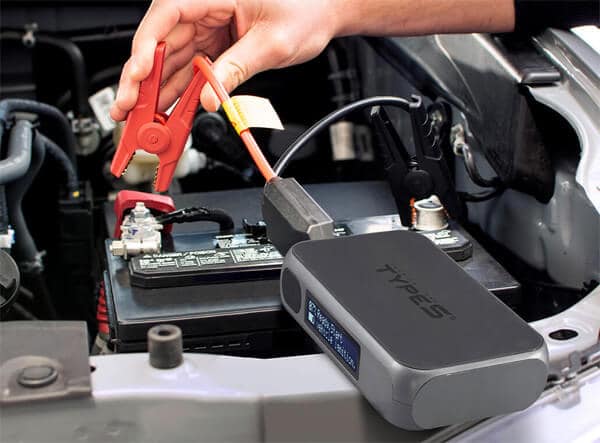
Type S jump starter troubleshooting
Step 3. Replace Your Battery Jump Starter If Needed
Why is the battery jump starter not working? There are some reasons leading to this issue. These reasons include the battery being out of date, shorted, or having some technical defect. If such cases are yours, it’s time to change to another battery.
Before replacing a battery, you must first determine where it is. The batteries are near your circuit board and on the jump starter’s top opening. They might be near the bottom in some cases.
Knowing how to connect is essential to get started. Before disassembling the connection, take a snapshot of it so you can look at it again when you reconnect it.
After that, we’ll go to a local electronics shop to purchase a compatible match with your batteries. Because battery terminal connections must be soldered, the soldering gun is also required.
Step 4. Change Your Connector Jack
While opening up the portable jump starter, your connector jack may have melted on its end. Typically, high temperatures and electric currents are the main reasons for this issue.
As a result, if you see any evidence of wire broken or damaged, cut the wire completely and inspect the gauge wires below the jack.
You should also replace it with a new connector jack if needed. You could salvage it with another used portable jump starter, or purchase a completely new one. Afterward, solder all exposed wires and replace your connector jack in its original location.
Step 5. Insulating & Binding Your Portable Jump Starter
When you’ve completed all of the above processes, you’ll need to insulate your portable jump starter and bind any hanging element. You should use a sturdy silicone adhesive to ensure that all of the parts stay in place.
Furthermore, protect your connecting jack from melting due to excessive heat by using a tie wrap.
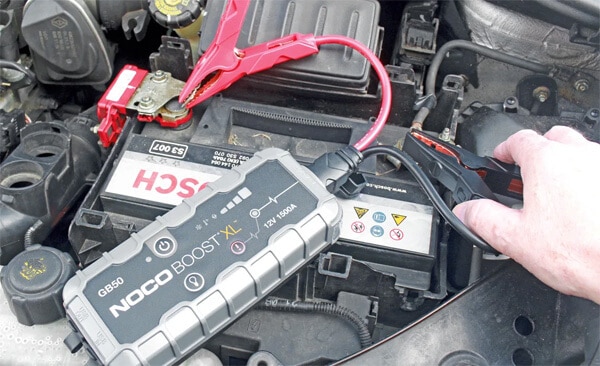
Why is my Portable jump starter not working?
Step 6. Recharge & Examine Your Pack Of Portable Jump Starter
You may charge your portable jump starter until it is fully charged. Take it out for a test to check how well it works. The success rate for running the portable jump starter can be high if all of the preceding stages are followed through carefully.
On the flip side, if the issue originated from the circuit board, take the pack to a professional for additional repair. You can, however, apply basic DIY methods to fix a variety of troubles, including outdated battery cells, broken connector jacks, and broken cables.
If you’ve tried all of the above methods and you still experience the battery jump starter not working, it’s probably time to invest in a new one.
Related:
- How Many Amps Is A Car Battery to Ramp up Your Engine?
- Big Question Of The Day: How Many Amps To Jumpstart A Truck?
- Expert Tips: How To Jump A Car Effectively
- How To Use A Jump Starter: Detailed Guideline For The Unprofessional
FAQs
How To Charge Your Portable Jump Starter?
These are 3 most popular methods to charge your portable jump starter:
Electric outlet
Most people use an electric outlet owing to its simple usage. You need to plug the unit into the electric outlet and then wait for the charge. In recent days, charging indicators have likely been the most popular in cutting-edge jump starters.
Vehicle’s AC adapter
A wide range of state-of-the-art vehicles offers an AC adapter. And you could use it to charge your portable jump starter.
Solar energy
Solar-powered devices are likely usable and affordable in less-powered regions to charge the jump starter.
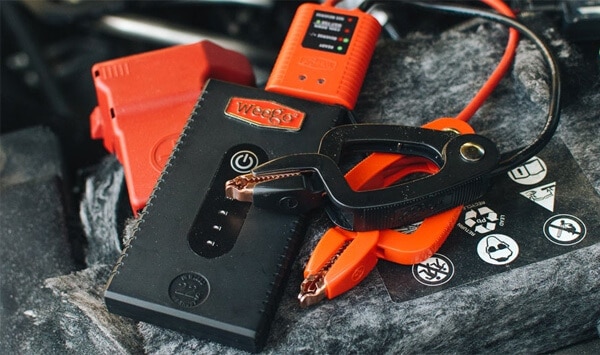
Multi-function jump starter won’t charge? How to deal with it?
The Average Jump Starter’s Lifespan
A portable jump starter’s average lifespan is between 6 and 10 years. A variety of circumstances influence its longevity. The self-discharge ability of a portable or a battery, in particular, will increase as the temperature rises. The higher the temperature is, the more power is lost.
The maximum capacity of the jump starter also indicates the period between charges. After each charge, the majority of use time might last up to three months. Others can last up to 6 months or longer, but it’s important to check your jump starter’s state every three months.
Conclusion
Above was our comprehensive guide on how to fix a portable jump starter, along with other relevant breakdowns. Be mindful of which method is most suitable for each case: DIY approaches, hiring professionals, or buying a new one.
If you find our post informative, forward it! Thanks for reading!
Further Reading:
- How do I Troubleshoot a Car That Won’t Start Even With a Jump Start?
- How to Jump-Start Your Car and Troubleshoot Issues
WHAT'S NEW
The best AGM battery chargers will be the ideal option to revive your flat battery without relying on professional help. These handy high-tech chargers are extremely beneficial because they offer...
The Genius Boost GB40 is popular because of its ability to help boost your vehicle when it has battery issues. Many of our customers wonder why the Noco GB40 can work greatly like so. So, we have...

